
Replacement shims, careful clearance checks and an awkward tension-bar assembly bring the Servi-Car rear axle back together. Ash and Robin turn excessive movement into a controlled fit.
The Servi-Car’s rear axle is ready to move from diagnosis to reassembly, but the parts needed to correct its excessive end float are no longer available. This week in the RiE-Store workshop, making replacements becomes part of the job. A few thousandths of an inch will determine whether the differential turns freely or locks solid.
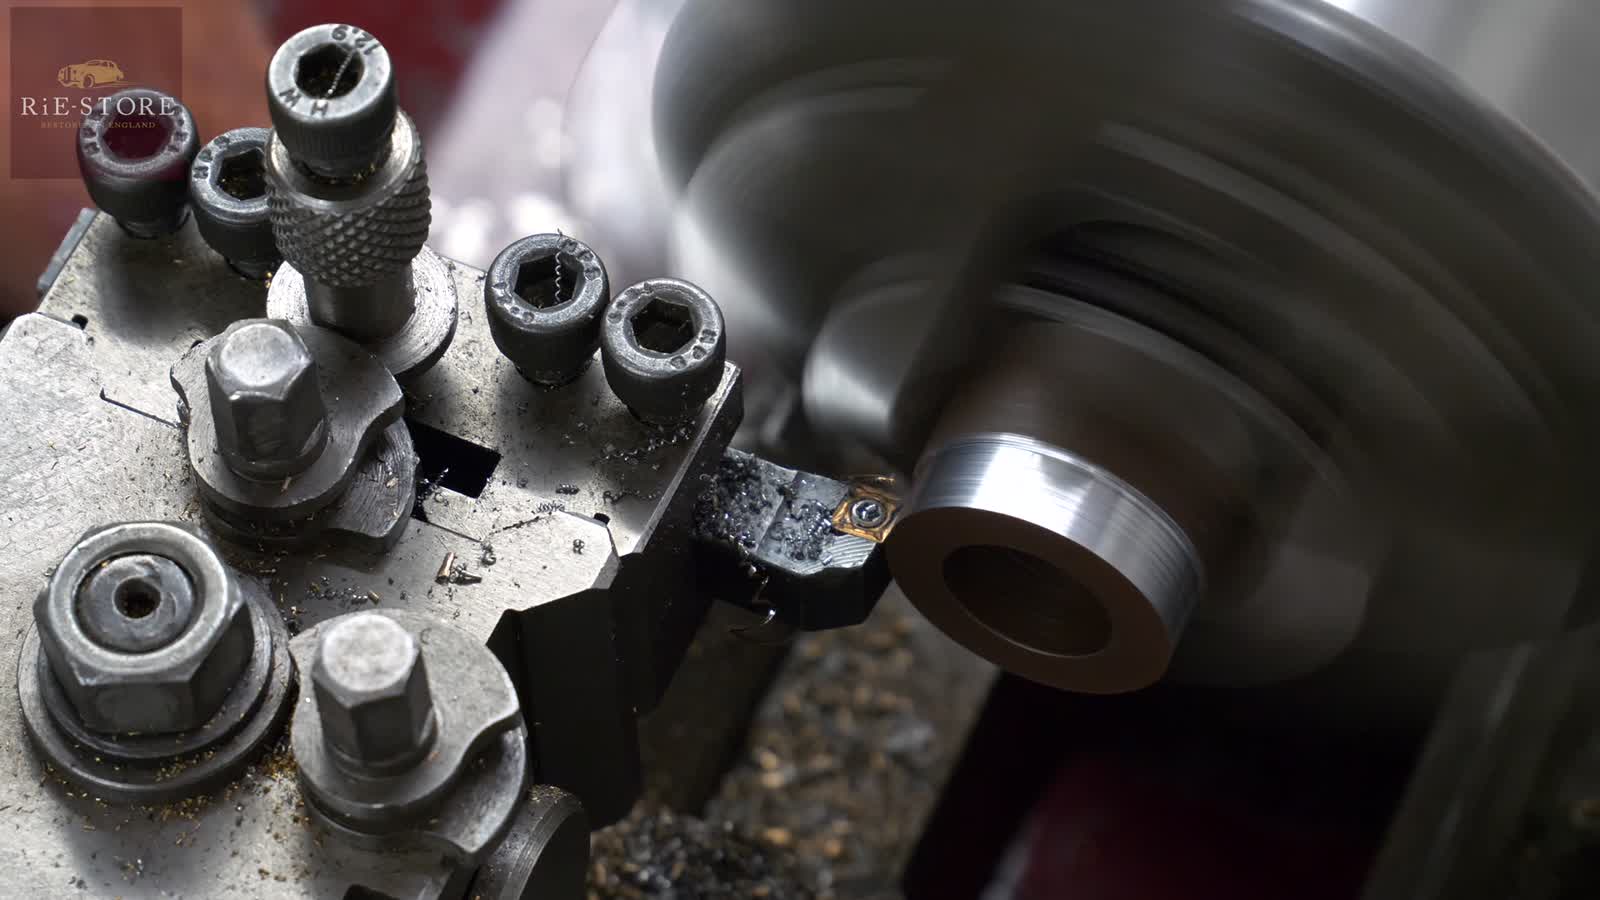
Ash begins with the half shafts and differential components laid out on the bench. He shows how the shims influence the gap at the inner ends of the shafts. Thicker pieces reduce that movement, but their fit needs checking against the assembled parts. The work starts with measurements and a search for suitable material to machine.
There is a false start along the way, which Ash readily shows, before Robin produces a set of thicker shims. Fitting the new pieces on both sides makes the assembly too tight and locks the differential. Consulting the manual confirms that different thicknesses can be used from side to side, so the next attempt combines original and new parts.
Even that needs a little refinement. Ash works the shims down on abrasive paper laid over a flat surface plate, removing just enough material to obtain the clearance he wants. Once reassembled and tightened, he reports three thousandths of an inch of end float on each side. The small measurement marks a substantial step forward.
With the differential packed with grease, attention turns to the bearings and axle casing. Grease is worked into the bearings before the casing halves are brought together. Ash points out the lubrication fittings serving the bearings, speedometer drive and differential. Keeping the grease clean matters too; an open tub beside grinding work can collect the very debris it should keep away from moving parts.
Closing the casing brings a separate adjustment into play. The differential assembly’s bearing clearance needs setting independently of the half-shaft clearances already established. Ash works with the serrated bearing adjuster and its locking pin, checking that the pin engages a slot while allowing the assembly the movement it needs.
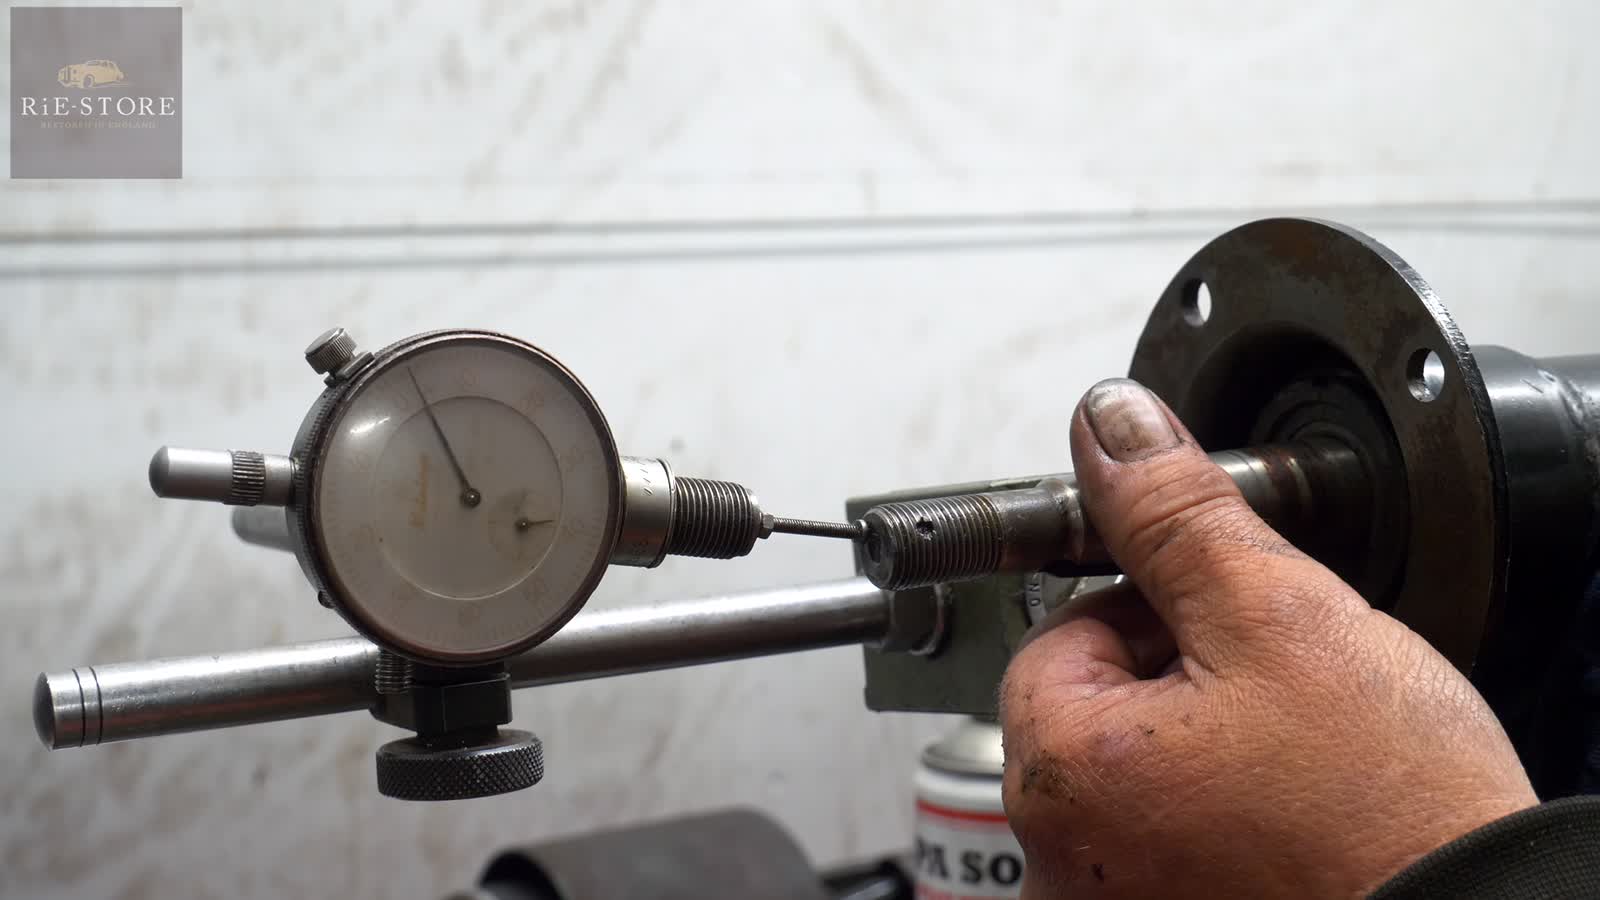
The dial indicator then comes out. Ash checks both ends and reports three thousandths of half-shaft end float on each side. He also turns the shafts, demonstrating smooth movement and the opposite rotation through the differential. There is no grinding or roughness apparent in the check. The axle is coming together as intended.
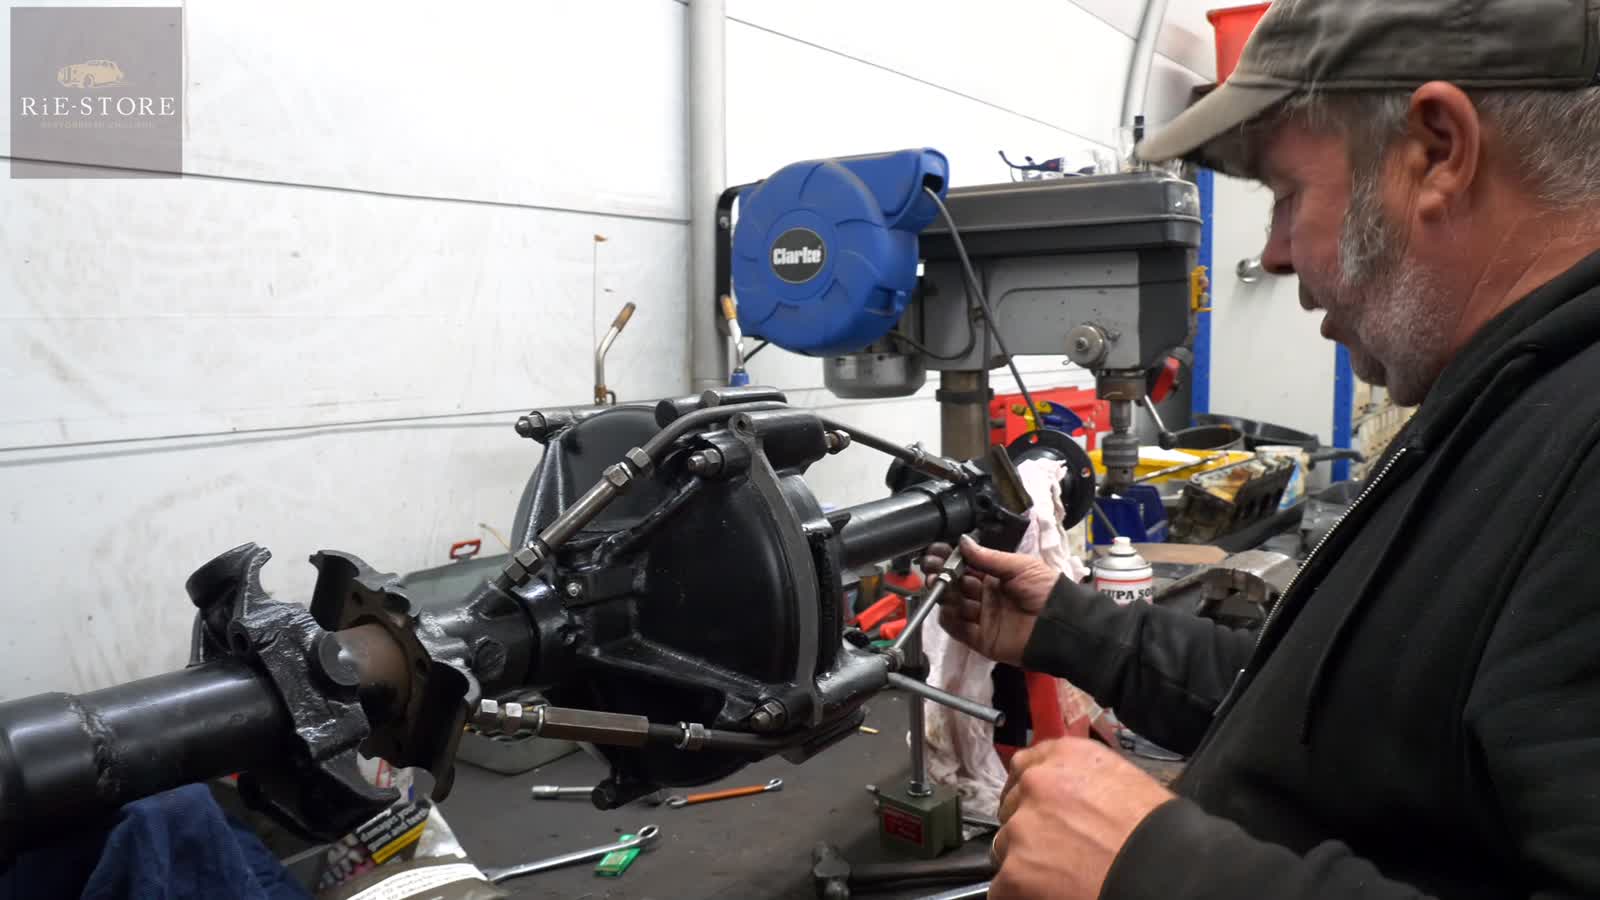
The final task is less about tiny measurements and more about working out an awkward assembly sequence. The tension bars, which support the axle housing against flex, have different bends and adjusters. Ash consults the parts book, compares the pieces and changes their arrangement when the first combination will not line up.
Their left- and right-hand threads allow the adjusters to alter the bars’ effective length, but getting all the parts into position takes several attempts. As the layout becomes clear, Ash works out a more practical approach: begin with the short side and the adjusters wound in, then bring the bars into their locating positions.
The important point is their final fit. Ash checks the manual and explains that the bars should support the housing without being overtightened and bending it. With the arrangement resolved and the locknuts secured, the axle still turns smoothly.
We finish with the differential reassembled, the clearances checked and the tension-bar arrangement worked out. The axle remains on the bench, but this stage has moved well beyond identifying the faults. New parts, careful adjustment and repeated checks have turned excessive movement into a controlled clearance, ready for the next stage of the Servi-Car’s rebuild.